Current christmas Shipping Times 3-4 weeks | free shipping australia wide
Cart
Your cart is empty.
Continue browsing
Shipping & taxes calculated at checkout
Rice Paddy Sunset Rays - Art Print
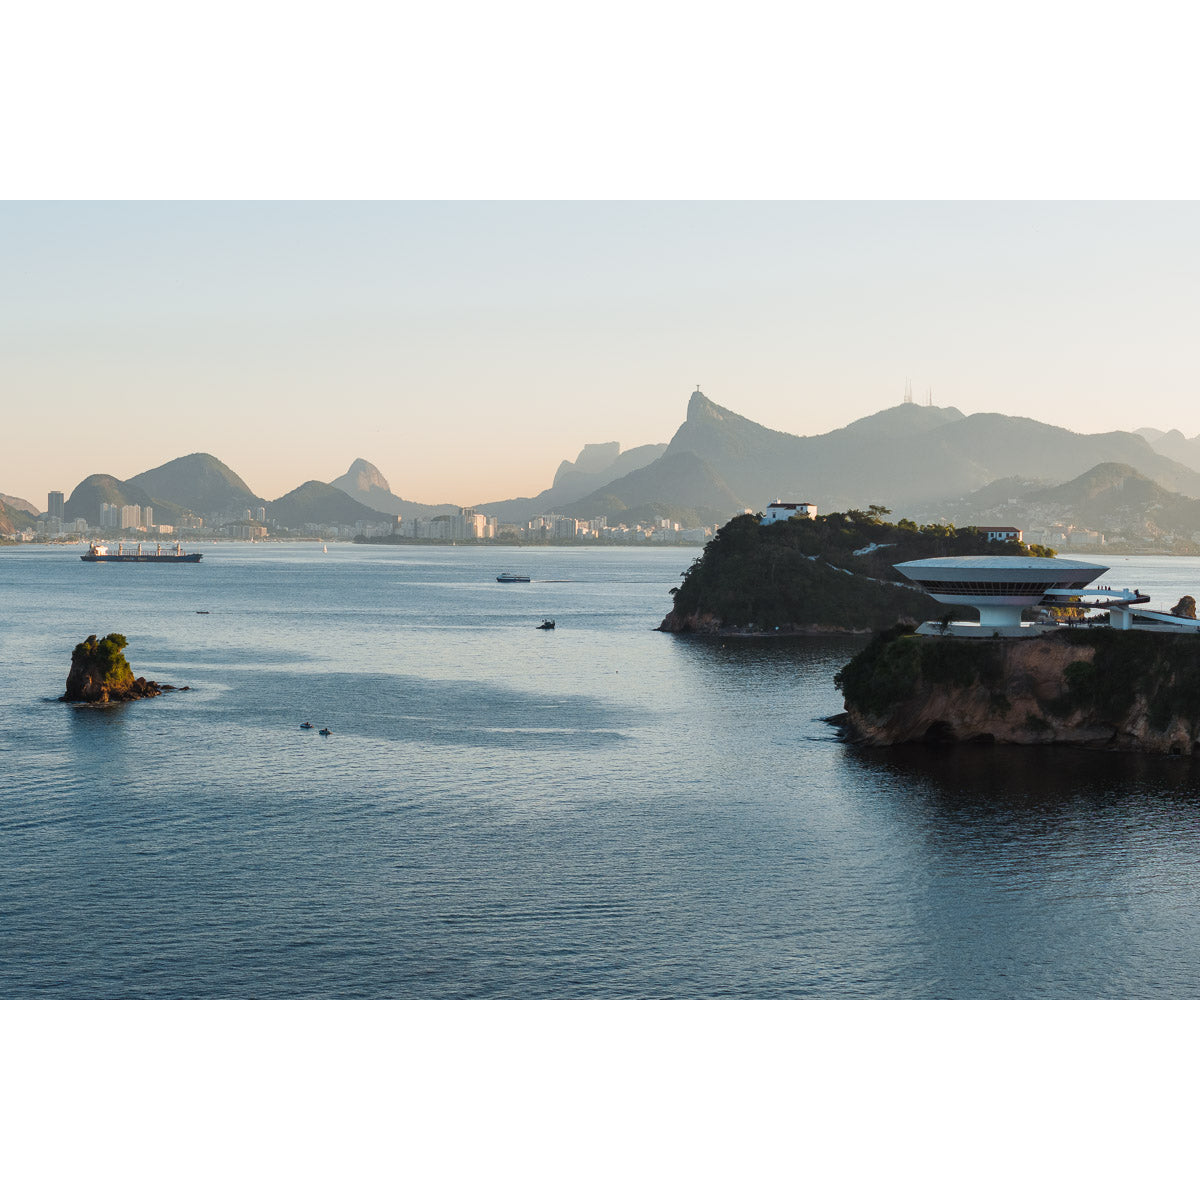
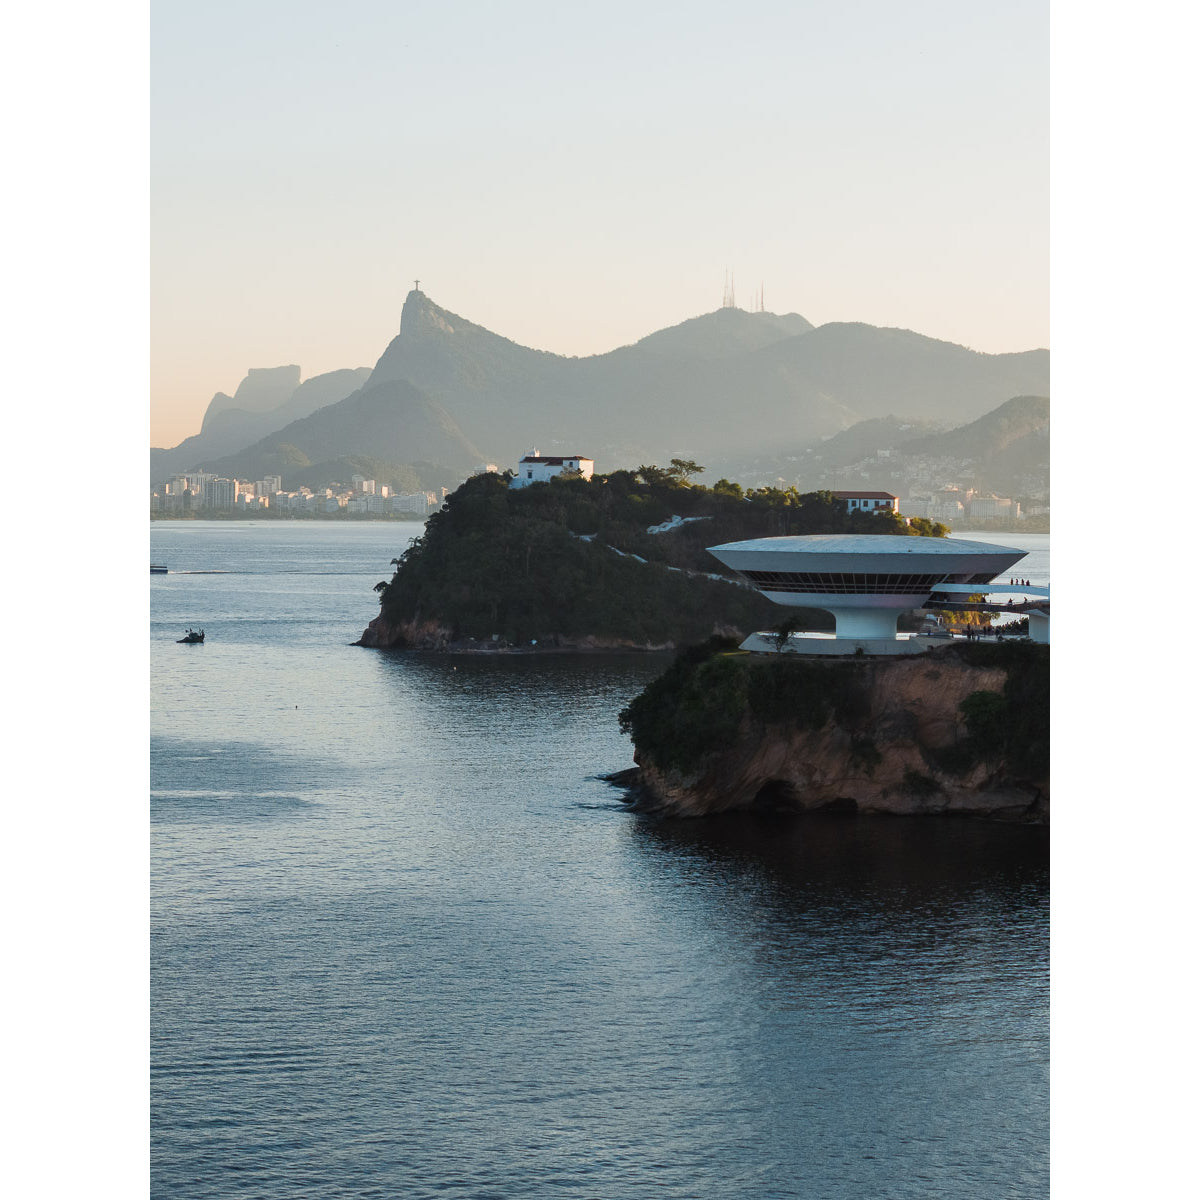
Rio Skyline – MAC Niterói & Christ the Redeemer View Print
River Calm – Brunswick Heads - Fine Art Print
Rolling South - Cabarita - Fine Art Print
Rottnest Island Panorama - Art Print
Salmon Bay - Art Print
Salmon Bay Curves - Art Print
Salmon Bay ii - Art Print
Salmon Bay iii - Art Print
Salt Lake Road Desolation - Art Print
Sea Glass Tides - Cabarita - Fine Art Print
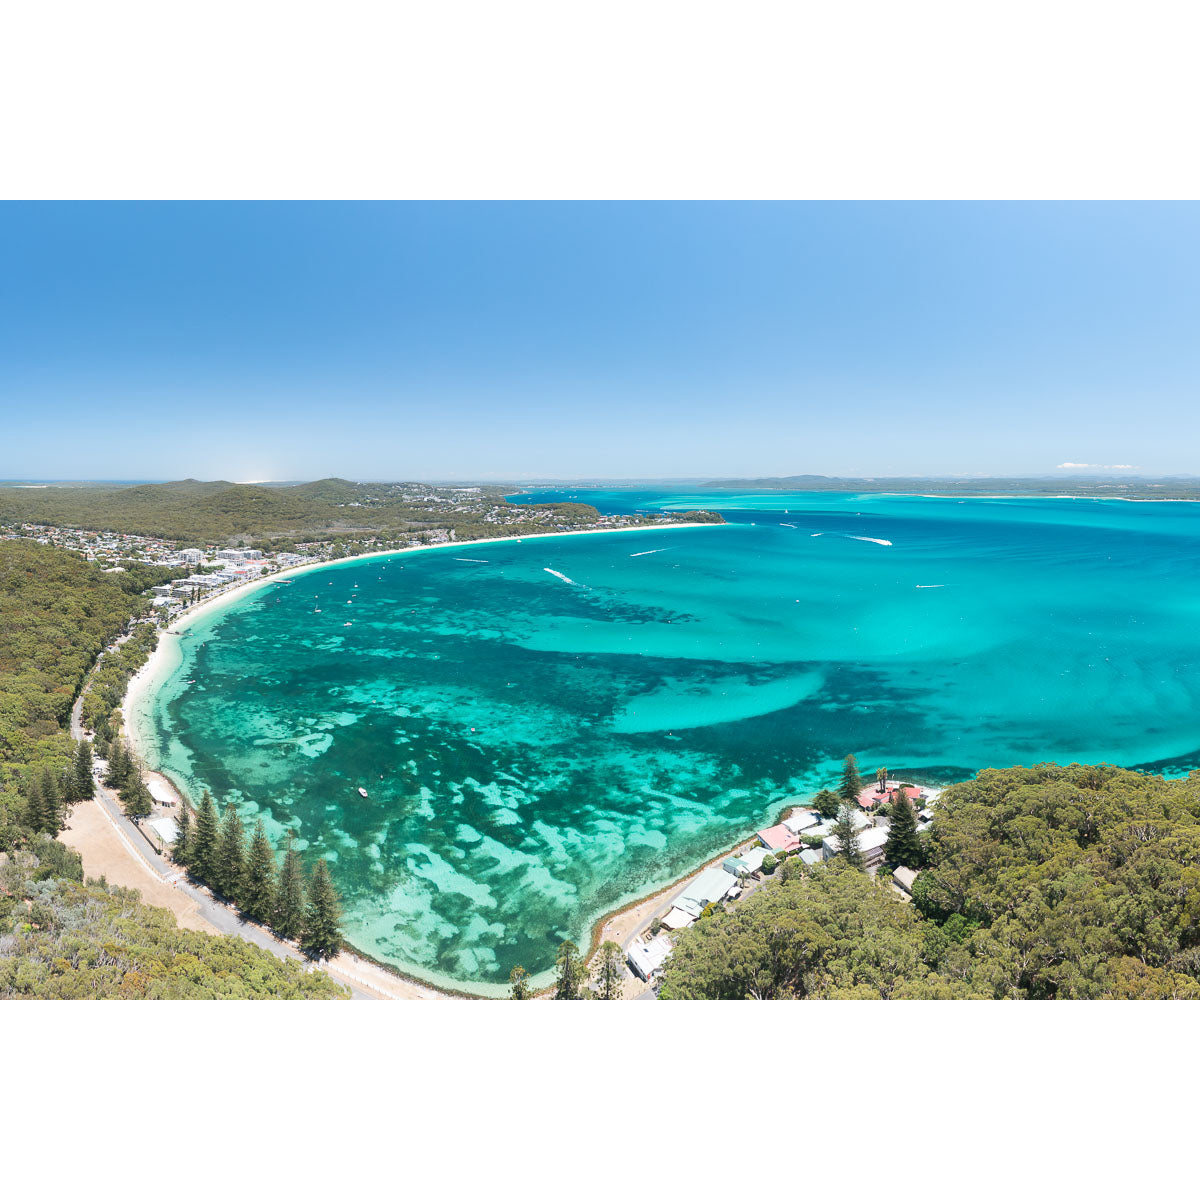
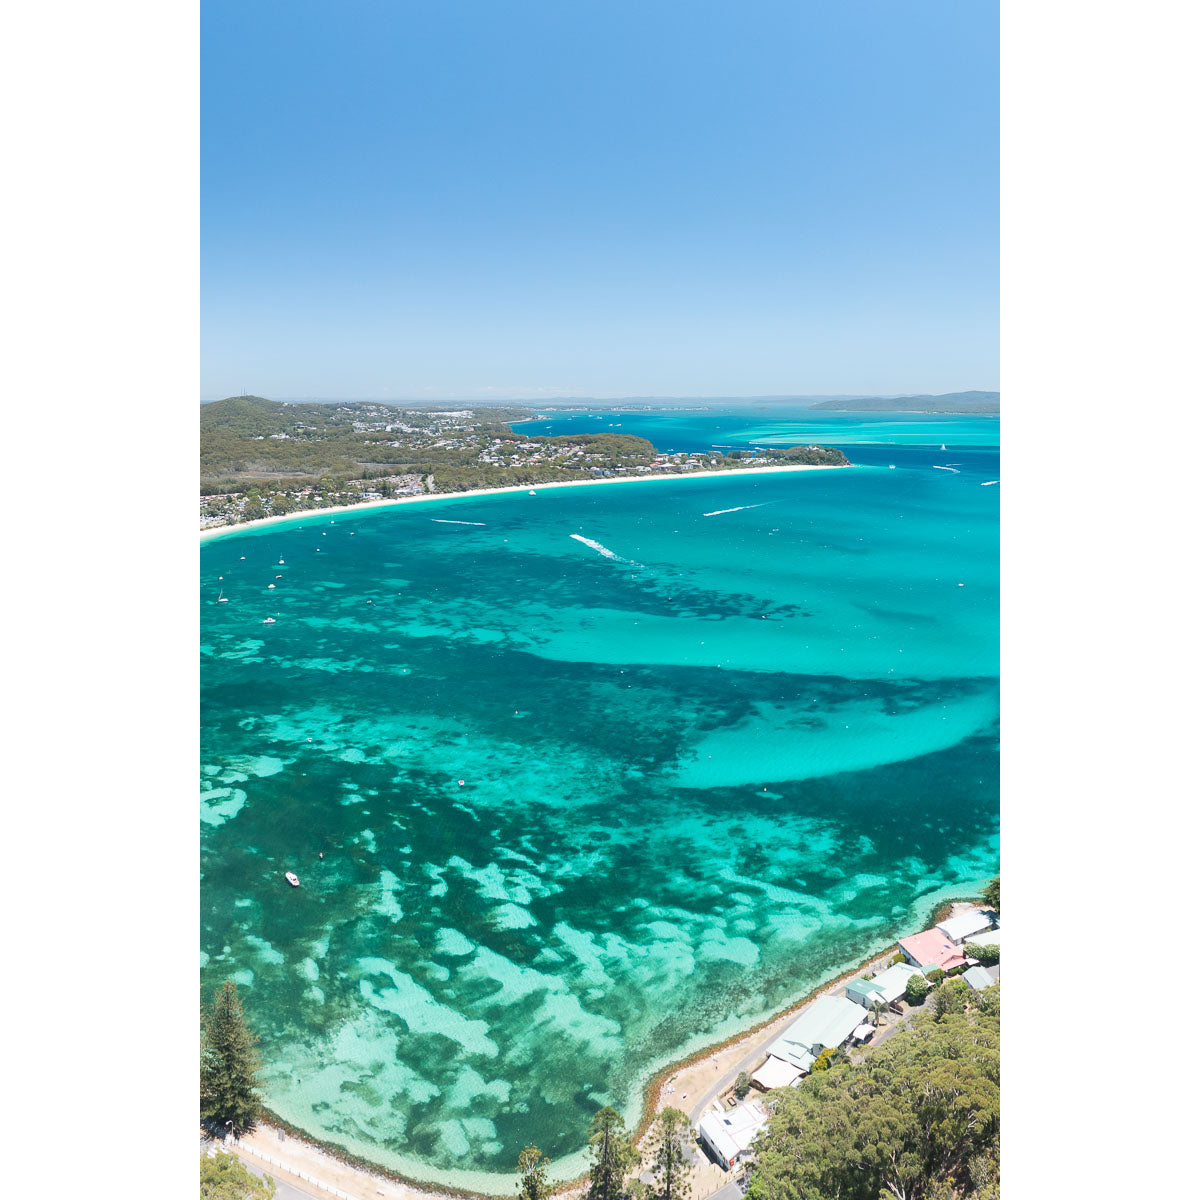
Seal Rocks High Aerial - Art Print
Seal Rocks High Aerial ii - Art Print
Seal Rocks Panorama - Art Print
Secret Beach Uluwatu - Art Print
Secret Rockpool - Port Stephens - Art Print
Secret Rockpool Top Down - Port Stephens - Art Print
Shoal Bay - Port Stephens - Art Print
Shoal Bay Beach - Port Stephens - Art Print
Shoal Bay Beach Corner - Port Stephens - Art Print
Shoal Bay Beach ii - Port Stephens - Art Print
Shoal Bay Beach View - Port Stephens - Art Print
Shoal Bay Blues - Port Stephens - Art Print
Shoal Bay CBD - Port Stephens - Art Print
Shoal Bay Corner ii - Port Stephens - Art Print
Shoal Bay Fun - Port Stephens - Art Print
Shoal Bay ii - Port Stephens - Art Print
Shoal Bay Wharf - Port Stephens - Art Print
Single Fin Love - Crescent Head - Art Print
Single Fin Uluwatu - Art Print
Single Palm - Art Print
Snapper Fun Days - Gold Coast - Art Print
Snapper Rocks Sunset Paddle - Gold Coast - Art Print
Snapper Rocks Sunset Surf - Gold Coast - Art Print
Solo Palm - Art Print
Strickland Bay Rocks - Art Print
SUP Sunrise - Gold Coast - Art Print
Surf Lineup - Crescent Head - Art Print
Surf Lineup Uluwatu - Art Print
Tallows Bliss - Byron Bay - Art Print
Tallows Blues - Byron Bay - Art Print
Tally Blues - Gold Coast - Art Print
Tally Bridge - Gold Coast - Art Print
Tally Curves - Gold Coast - Art Print
Tally High Tide - Gold Coast - Art Print
Tally Rock Wall - Gold Coast - Art Print
Tegalalang Rice Fields - Ubud - Art Print
Tegalalang Rice Fields - Ubud ii - Art Print